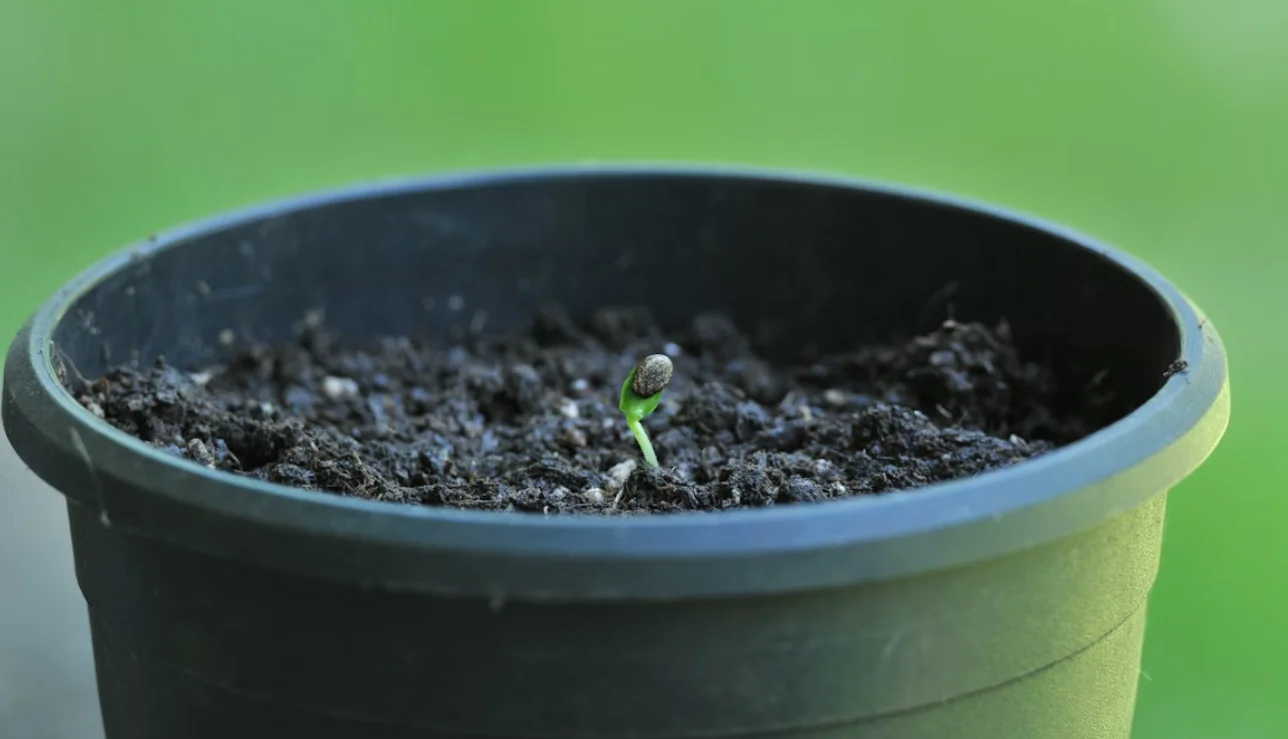
Growing sprouts at home turns seeds into nutrient-packed foods rich in vitamins A, C, and E, along with enzymes and minerals. Sprouts are easier to digest, cost-effective, and offer concentrated nutrition, perfect for salads, sandwiches, or smoothies.
Essential Conditions for Successful Sprouting
Moisture: The Foundation of Sprouting
Water serves as the catalyst that triggers seed germination. Seeds contain enzymes that remain dormant until moisture activates them, beginning the sprouting process. However, achieving the right moisture balance requires attention to detail.
Seeds need consistent moisture without becoming waterlogged. Too little water prevents germination, while excess water creates anaerobic conditions that promote harmful bacteria growth. The ideal approach involves soaking seeds initially, then maintaining dampness through regular rinsing.
Most sprouting seeds require an initial soak of 4-12 hours, depending on their size and hardness. Larger seeds like chickpeas need longer soaking times, while smaller seeds like alfalfa require less. After the initial soak, drain the seeds completely and rinse them twice daily with cool, clean water.
Temperature: Creating the Perfect Growing Environment
Temperature directly influences sprouting speed and success rates. Most sprouting seeds thrive in temperatures between 68-78°F (20-25°C). This range mimics the warm, spring-like conditions that naturally trigger germination in outdoor environments.
Cool temperatures slow down the sprouting process significantly. While seeds may still germinate in cooler conditions, they’ll take longer and may develop less robust growth. Conversely, excessive heat can kill seeds or create conditions favorable to harmful bacteria.
Room temperature works well for most sprouting projects. If your home runs cool, consider placing sprouting containers on top of the refrigerator or near a warm (but not hot) appliance. Avoid direct sunlight or heat sources that could create temperature fluctuations.
Oxygen: Enabling Proper Respiration
Seeds require adequate airflow to respire properly during germination. This often-overlooked factor can make or break your sprouting efforts. Poor ventilation leads to anaerobic conditions that encourage mold growth and create unpleasant odors.
Proper drainage plays a crucial role in maintaining oxygen levels. Standing water blocks air circulation around seeds, creating the perfect environment for problems. This is why sprouting methods emphasize thorough draining after each rinse.
Many sprouting containers feature perforated lids or mesh screens that allow air circulation while keeping seeds contained. If using mason jars, replace solid lids with cheesecloth or specialized sprouting lids that permit airflow.
Seed Quality and Viability Matter
Not all seeds are suitable for sprouting. Seeds intended for planting typically offer the best results because they haven’t been treated with chemicals that prevent germination. When purchasing bulk flower seeds or vegetable seeds for sprouting, look for organic, untreated varieties specifically labeled for sprouting or planting.
Fresh seeds generally have higher germination rates than older ones. Check packaging dates when possible, and store unused seeds in cool, dry conditions to maintain viability. Seeds that have been exposed to excessive heat, moisture, or age may have reduced sprouting potential.
Some seeds require special preparation before sprouting. Harder seeds like mung beans benefit from longer soaking times, while delicate seeds like broccoli need gentler handling. Research the specific requirements for each type of seed you plan to sprout.
Step-by-Step Home Sprouting Guide
Step 1: Preparation
Start with clean equipment and fresh water. Rinse your sprouting container thoroughly, and measure out the appropriate amount of seeds. Most seeds expand significantly during sprouting, so start with less than you think you need.
Step 2: Initial Soaking
Place seeds in your container and cover with cool water. Soak for the recommended time based on your seed type. Small seeds typically need 4-6 hours, while larger seeds may require 8-12 hours.
Step 3: Draining and First Rinse
Pour off the soaking water completely and rinse seeds with fresh water. Drain thoroughly, ensuring no standing water remains. This step is crucial for preventing bacterial growth.
Step 4: Daily Care
Rinse and drain seeds twice daily, morning and evening. Maintain consistent timing to establish a routine that supports steady growth. Keep the container in a dark, warm location between rinses.
Step 5: Harvesting
Most sprouts are ready to harvest in 3-7 days, depending on the variety and your preferred size. Rinse harvested sprouts one final time and store them in the refrigerator.
Troubleshooting Common Problems
Musty Odors
Unpleasant smells usually indicate bacterial growth caused by inadequate drainage or infrequent rinsing. Increase rinsing frequency and ensure complete drainage after each rinse. If odors persist, discard the batch and start fresh.
Slow or No Germination
Poor germination often results from old seeds, incorrect temperature, or insufficient moisture. Verify that your seeds are fresh and suitable for sprouting. Check that your growing environment maintains appropriate temperature and humidity levels.
Mold Growth
Fuzzy growth on sprouts typically indicates mold, which thrives in stagnant, humid conditions. Improve air circulation around your sprouting container and ensure thorough draining. Some white, hair-like growth on roots is normal and shouldn’t be confused with mold.
Sprouting Methods and Equipment
Mason Jar Method
This popular approach uses wide-mouth mason jars with perforated lids or cheesecloth covers. It’s affordable, accessible, and works well for most seed types. The jar method offers good visibility of progress and easy rinsing.
Tray Systems
Multi-level sprouting trays allow you to grow different varieties simultaneously while maintaining separate growing environments. These systems often include drainage features and may offer better air circulation than jar methods.
Sprouting Bags
Hemp or linen sprouting bags provide excellent drainage and airflow while containing seeds securely. They’re particularly useful for larger seeds and can be hung for improved drainage.
Conclusion
Successful sprouting depends on understanding and controlling three fundamental conditions: moisture, temperature, and oxygen. By maintaining proper hydration, providing consistent warmth, and ensuring adequate airflow, you create an environment where seeds naturally transform into nutritious sprouts.


